How to install a SSD in a laptop or PC
Installing a SSD (Solid State Drive) is one of the most effective upgrades you can make for a laptop or PC. It increases boot speed, improves application loading times, and can extend the lifespan of your system.
In this step-by-step guide, you will learn how to install a SSD, whether you have a desktop computer or a laptop, and what you need to check before replacement.
Why install a SSD? Major advantages
Before you begin, it’s important to understand why it’s so highly recommended:
- Much faster speed than traditional HDD
- System boot time of just a few seconds
- Applications that open instantly
- Better shock resistance (no mechanical components)
- Lower power consumption (ideal for laptops)
These benefits make upgrading to a SSD one of the best cost / performance ratios.
What type of SSD is compatible with your system?
Before installation, check the compatible type of Solid State Drive:
1. 2.5″ SATA SSD
- Suitable for most older laptops and PCs
- Connects via SATA cable
- Easy installation.
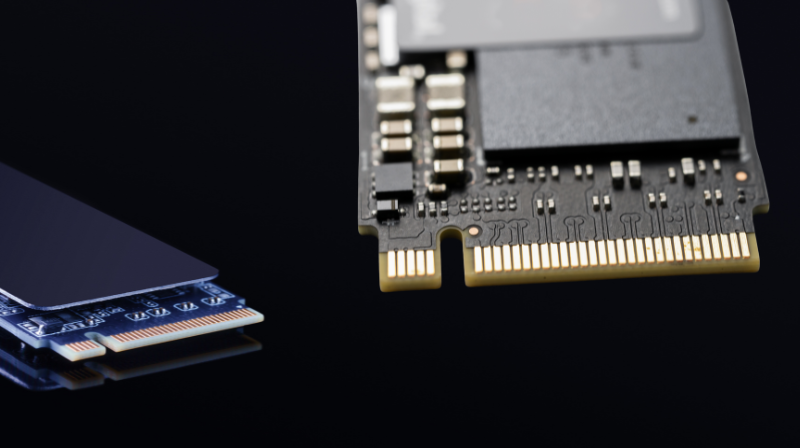
2. M.2 SATA SSD
- Thin board, mounted directly on the motherboard
- Also uses the SATA protocol
3. M.2 NVMe SSD
- The fastest option
- Mounts in the M.2 slot
- Works via PCIe, with much higher speeds.
Check your laptop or motherboard manual to identify the correct slot type.
What do you need for installation?
- A new Solid State Drive (SATA or M.2, as appropriate)
- Compatible screwdriver
- 2.5” adapter bracket (if replacing an HDD on a laptop and the thickness differs)
- SATA cable + power (for desktop PCs)
- Cloning software (optional, for moving Windows).
How to install a SSD in a desktop PC – in 5 simple steps
1. Turn off the PC and unplug it
Safety is essential. Disconnect all peripherals as well.
2. Open the case
Remove the side panel by unscrewing it.
3. Identify the location for the SSD
- The M.2 slot is on the motherboard.
- The 2.5” bay for the SATA version is in the dedicated storage area.
4. Mount the SSD
- For M.2: insert it at a 30° angle and secure it with the dedicated screw.
- For SATA: fix it in the 2.5” bay and connect the SATA cable and power.
5. Close the case and turn on the PC
If the SSD is new, it needs to be initialized in Windows or used for operating system installation.
How to install a SSD in a laptop – explained for everyone
1. Turn off the laptop and remove the battery (if detachable)
2. Open the access cover
On some models, you need to unscrew the entire back. On others, there is a dedicated compartment.
3. Identify the HDD or M.2 slot
- If replacing the HDD: it is held by screws.
- If adding an M.2 drive: look for the special slot.
4. Mounting
- For 2.5” SATA: remove the HDD, place the SSD in the same bracket and secure it.
- For M.2: insert the drive into the slot and secure it with the dedicated screw.
5. Close the cover and turn on the laptop
The laptop will recognize the new storage unit immediately.
Moving the operating system to SSD
You have two options:
1. Cloning the HDD to SSD
Advantages:
- You don’t lose data.
- Everything remains exactly as before.
Useful programs:
2. Fresh installation (clean install) of Windows
Advantages:
- Faster and more stable system
- No unnecessary files
It is recommended if the old HDD was very slow or full.
Fast upgrade, spectacular result
Installing a Solid State Drive is a simple process, accessible even to users without technical experience. In a few minutes, you can transform a slow PC into a fast and responsive system, ideal for work, gaming, and daily use.
Upgrading to a SSD is undoubtedly one of the best investments in your computer’s performance.