How to install a wireless router correctly
In the digital age, a stable internet connection has become a necessity, whether we are talking about homes, offices or commercial spaces. Every smart device in your home – phone, laptop, smart TV or printer – needs a secure and fast network. And to achieve this, the correct installation of a wireless router is essential.
What is a router and why is proper installation important?
A wireless router is the device that receives the internet signal through a cable (Ethernet) and transmits it into space in the form of radio waves, providing Wi-Fi access to all surrounding devices. Basically, he is the heart of your network.
Incorrect router installation can lead to poor signal, slow speeds, and frequent outages, so it’s important to pay attention to every step of the process.
Choosing the right place for the router
The first essential step when installing a router is the correct positioning. Networking specialists recommend placing the router as close to the center of your home or office as possible. Thus, the signal will be evenly distributed in all directions.
Useful tips for optimal placement:
- Mount your router on a high shelf or wall, not at floor level.
- Avoid placing it behind furniture or metal or concrete structures.
- Keep it away from other electronic devices that emit waves (such as microwaves or cordless landlines).
- Do not place it near windows, the signal will be partially wasted on the outside.
Correct positioning is a small detail that can make a huge difference in the performance of your Wi-Fi connection.
How to Install a Wireless Router in 5 Steps
Once you have chosen the ideal place, the actual installation follows. The process is simple and can be done in a few minutes:
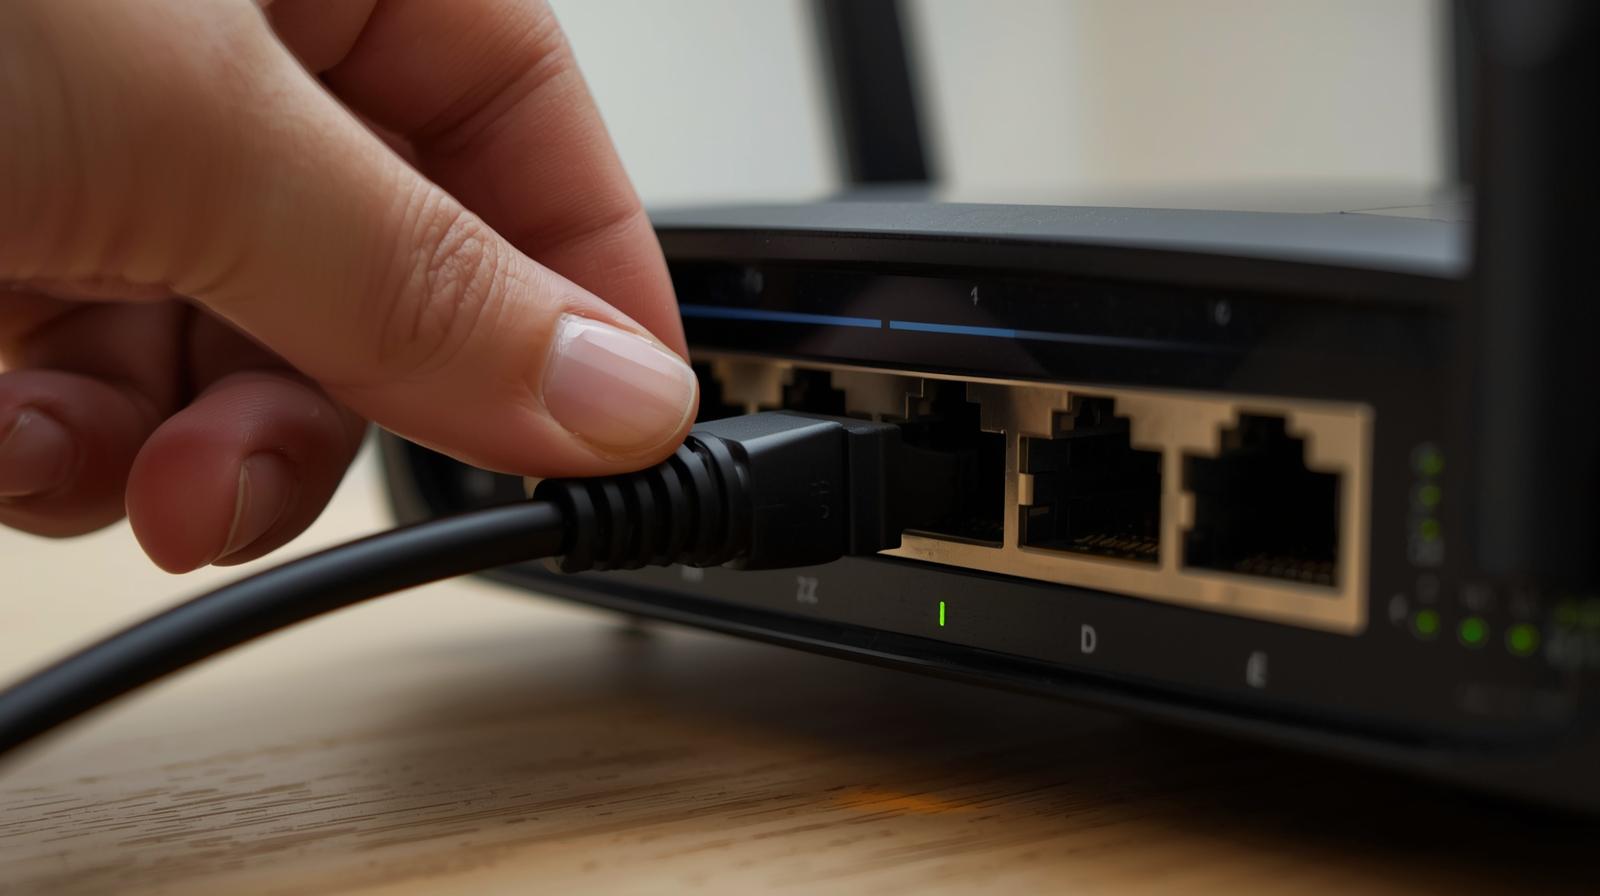
Step 1: Check the available connections
Make sure you have access to an electrical outlet and the Ethernet cable provided by your internet provider. The cable must be connected to the router’s WAN port; This is what brings the signal to the network.
Step 2: Mount the antennas
If your router has detachable antennas, screw them carefully in and orient them vertically or slightly obliquely, depending on the surface you want to cover. Antennas are essential for even signal distribution.
Step 3: Connect and set up your router
After connecting the cables, turn on the router. Access the setup interface (usually via an IP address such as 192.168.0.1 or 192.168.1.1, indicated in the device manual).
Enter the login credentials provided by your ISP. These are necessary to establish the connection between the router and the network.
Step 4: Test your connection
After setup, connect to the Wi-Fi network generated by your router and check if you have internet access. You can do this from your laptop, phone, or tablet. If the speed is slow or the signal is unstable, double-check the router’s positioning or network settings.
Step 5: Secure the network
An extremely important step is to protect your Wi-Fi connection. Change your router’s default password to your own, complex password (including uppercase and lowercase letters, numbers, and symbols).
Also, make sure that your network uses WPA2 or WPA3 encryption for added security.
Additional tips for a better connection
- Update your router’s firmware periodically – manufacturers release updates that improve performance and security.
- Avoid cluttering Wi-Fi channels – you can change the channel manually in your router’s settings, especially if you live in a block of flats.
- Use a Wi-Fi extender – if you have a large home or several floors.
Proper router installation means a stable, secure, and fast network
Installing a router is not complicated, but it does require attention. If you follow the steps above, you’ll get a stable, secure, and fast network that’s suitable for both work and play.